About Me
I am a lifelong resident of South Louisiana - a place like nowhere else on earth. I appreciate the people, the culture, and the beauty that surround me and want to share them with the rest of the world through my photography.
Email Photo Gumbo Studio
Product Photography Light Box DIY Tutorial
Many artisans are selling their goods online. In fact, there is so much competition that you may find yourself spending as much time on your computer promoting your creations as you spend actually creating things.
Since buyers often rely on a computer screen or smartphone to do their shopping, it's important that your creations be visually represented as accurately as possible.
Many artisans rely on a digital camera or their smartphone for photographing their products. They often point and click. The result is often photos that are poorly lit, out of focus, or shot against a messy background, which is distracting and detracts from the beauty and the perceived value of the item.
Here are some common scenarios.
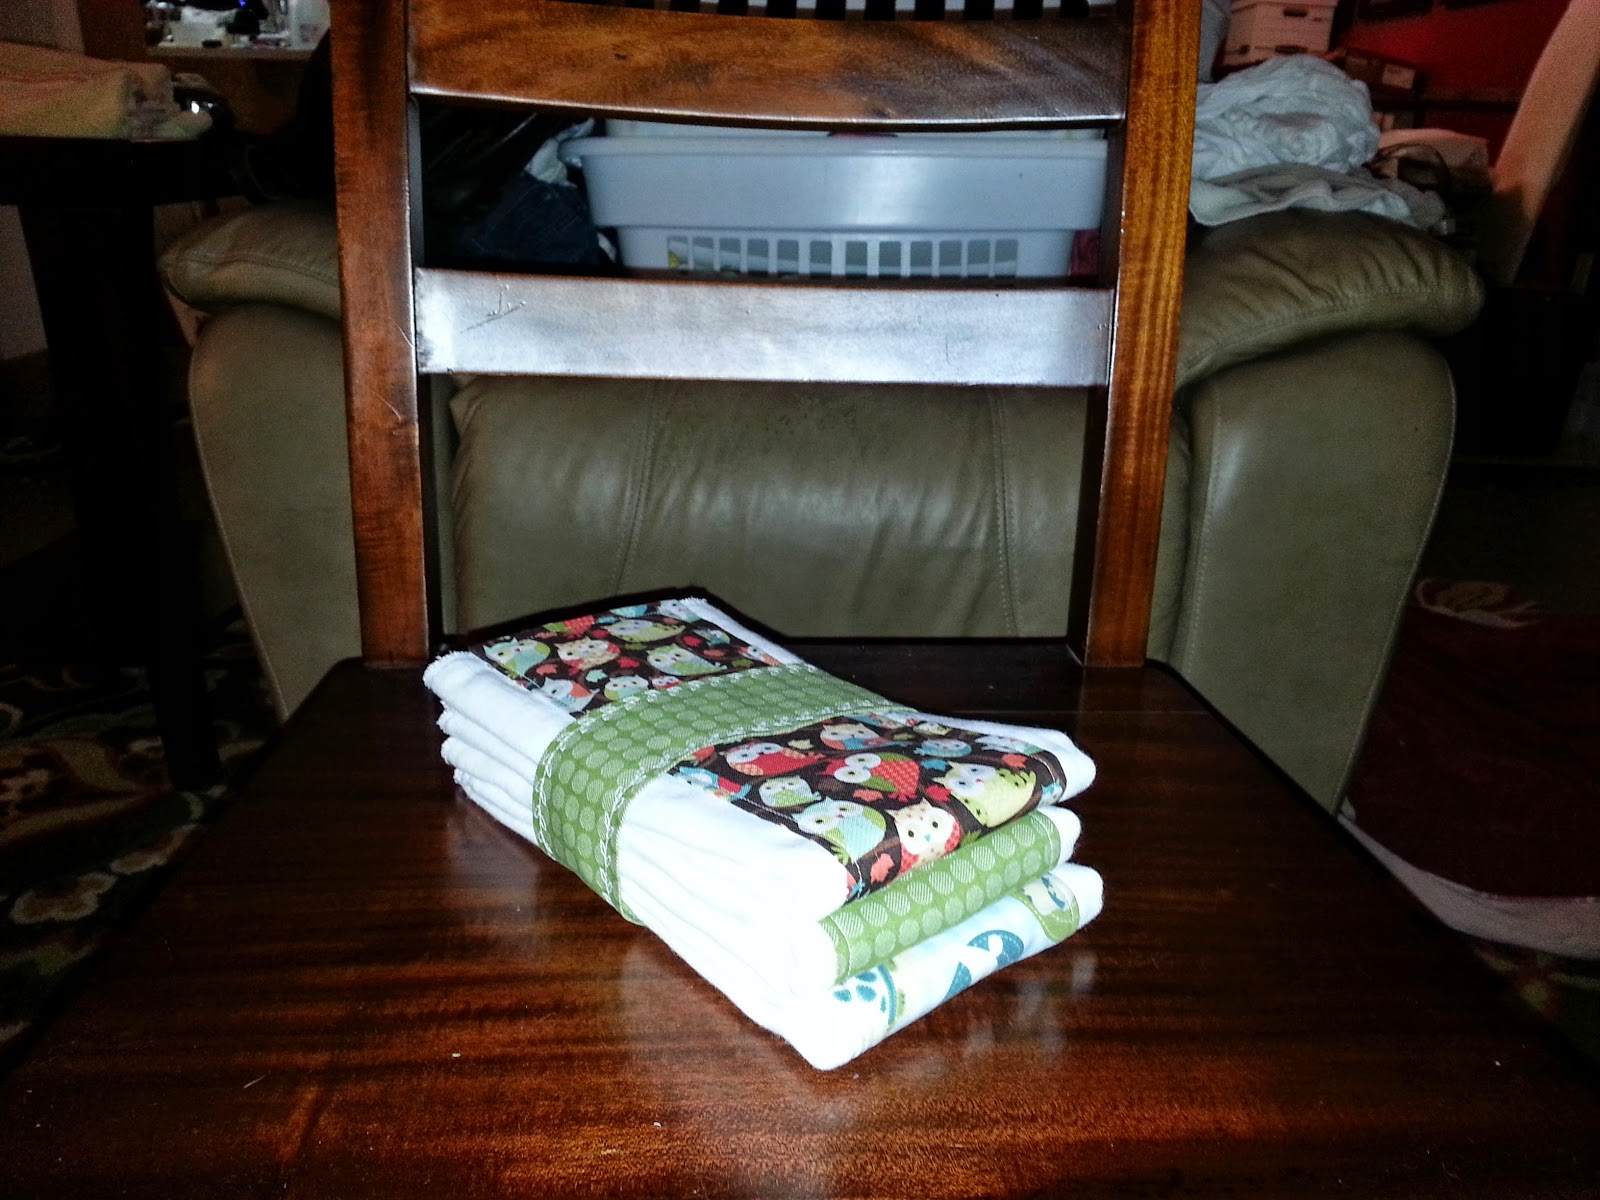
Here's a quick and easy way to improve your photos and give the attention to your creations that they deserve. And, hopefully, help you close more sales. This tutorial shows you how to build a quick and easy light box to photograph smaller items, but the same principles will apply to larger items. This works for both DSLRs, point and shoot cameras, and smart phones. I am not a professional photographer. I'm sure that even my photos could be improved upon. But, I think they are better than average and I like to share what I've learned with others.
List of Materials:
1 cardboard box big enough to fit your product with room to spare
2 sheets of tissue paper or parchment paper or any kind of thin white material that will diffuse light
2 really really bright lights. I prefer halogen shop lights.
1 white poster board
1 box cutter or serrated steak knife or anything that will cut the cardboard
tape
Now you're ready to make photographs.
Depending on what type of camera you are using, you may need to make a few adjustments. For this photo, I used my Samsung Galaxy Note 2 smart phone. I selected the "macro" focus mode setting and set the white balance to "incandescent" light to remove the yellow tint.
Don't be afraid to experiment. Take a photo. Make adjustments. Take another photo. Make adjustments. Adjust the different settings until you are happy with your pictures.
Now that you have your photos, you can use them as is or use software or a phone app to further enhance them. You'll probably always need to crop your photo into a pleasing composition, then, perhaps adjust the white balance further and increase the saturation, if necessary. Basically, you should adjust the photo until you think it accurately represents your product to potential buyers.
For the image at the top of the page, I brought my photo in Adobe Lightroom for the basic adjustments then I brought it into Adobe Photoshop CS4 to add the banner and text. Again, a lot of this can also be done using phone apps.
Now, as I mentioned earlier, some items may be too large for a box, but the same principles apply. Use a light or non-distracting background and shine diffused light on your object from every angle to reduce shadows. If shooting outdoors, choose a bright overcast day. The clouds are nature's diffuser!
I hope you've found this quick and dirty tutorial helpful Feel free to ask questions and I'll do my best to answer. And there are no dumb questions. And if you have some tried and true methods that work for you, feel free to speak up. We're all learning here.
kim
Many artisans are selling their goods online. In fact, there is so much competition that you may find yourself spending as much time on your computer promoting your creations as you spend actually creating things.
Since buyers often rely on a computer screen or smartphone to do their shopping, it's important that your creations be visually represented as accurately as possible.
Many artisans rely on a digital camera or their smartphone for photographing their products. They often point and click. The result is often photos that are poorly lit, out of focus, or shot against a messy background, which is distracting and detracts from the beauty and the perceived value of the item.
Here are some common scenarios.
Flash causes overexposure in some areas and shadows in others. Background is distracting. Product is too far away. You can't appreciate the details. |
No flash. Scene is poorly lit causing a lot of "noise", the little colored dots that cover the photo. Product is out of focus. |
List of Materials:
1 cardboard box big enough to fit your product with room to spare
2 sheets of tissue paper or parchment paper or any kind of thin white material that will diffuse light
2 really really bright lights. I prefer halogen shop lights.
1 white poster board
1 box cutter or serrated steak knife or anything that will cut the cardboard
tape
- Decide which side of the box is going to become the "floor".
- Remove the flaps from the other three sides.
- Cut large openings in the other three sides.
- Use tape and tissue paper to cover the openings.
- Lay the box down so that the uncut side is now the "floor" and its flap extends the floor.
- Place a white poster board in the box so that it curves up the back "wall" from the floor. This creates the "infinity edge" that is so desirable in product photography.
- Position a bright light on either side of the box so that it shines through the diffusing material (tissue paper, etc.) If you don't have shop lights, take the shades off of a couple of lamps and move them close to the diffusers. Just remember, the whiter the light, the better.
- If available, shine another bright light through the top panel.
- Place your object on the floor and position it to your liking.
Now you're ready to make photographs.
Depending on what type of camera you are using, you may need to make a few adjustments. For this photo, I used my Samsung Galaxy Note 2 smart phone. I selected the "macro" focus mode setting and set the white balance to "incandescent" light to remove the yellow tint.
Don't be afraid to experiment. Take a photo. Make adjustments. Take another photo. Make adjustments. Adjust the different settings until you are happy with your pictures.
Now that you have your photos, you can use them as is or use software or a phone app to further enhance them. You'll probably always need to crop your photo into a pleasing composition, then, perhaps adjust the white balance further and increase the saturation, if necessary. Basically, you should adjust the photo until you think it accurately represents your product to potential buyers.
For the image at the top of the page, I brought my photo in Adobe Lightroom for the basic adjustments then I brought it into Adobe Photoshop CS4 to add the banner and text. Again, a lot of this can also be done using phone apps.
Now, as I mentioned earlier, some items may be too large for a box, but the same principles apply. Use a light or non-distracting background and shine diffused light on your object from every angle to reduce shadows. If shooting outdoors, choose a bright overcast day. The clouds are nature's diffuser!
I hope you've found this quick and dirty tutorial helpful Feel free to ask questions and I'll do my best to answer. And there are no dumb questions. And if you have some tried and true methods that work for you, feel free to speak up. We're all learning here.
kim
No. 1684 Autumn Reflections
A shrine houses a centuries-old Buddha and sits atop a small hill at Jungle Gardens, Avery Island, Louisiana.
No. 1714 Beaucoup Bamboo
Enormous stalks of Moso bamboo can be found growing at Jungle Gardens, Avery Island, Louisiana. These blue-green stalks are giants, growing up to 80 feet tall and as large as 7" at the base.
No. 3838 Fleur de Lis Finial
A rainy day photo of one of the many finials that top the wrought iron fence in front of St. Bernard School, Breaux Bridge, Louisiana.
No. 4227 The Bridge of Breaux Bridge
Firmin Breaux built the first bridge that spanned Bayou Teche. It was a footbridge that became a popular landmark and allowed the town to be the only one along the bayou to prosper on both sides simultaneously. The current bridge that spans Bayou Teche in Breaux Bridge, Louisiana, was erected in 1950.
Breaux Bridge celebrates its 150th birthday in 2009! The community-wide celebration will take place September 11-12. Click here for more information on the event. A print of this photograph has been donated to The Bridge Collection and will be on display along with the other submissions during the two-day celebration event. Click here to learn more about this permanent collection of work and where it will be displayed.
No. 6366 Moving Day
Lake Martin, Breaux Bridge, Louisiana
A Great Egret (Ardea alba) carries a twig to its nest.
No. 3845 Baby Gator
American alligator (Alligator mississippiensis)
Lake Martin, Breaux Bridge, Louisiana
No. 10109 Little Gator
American alligator (Alligator mississippiensis)
Lake Martin, Breaux Bridge, Louisiana
No. 4171 Why, oh Y!
I am always drawn to old typewriters when I visit flea markets. I had my camera with me on this day and took advantage of the photo opportunity. It wasn't until I viewed the photos later on my computer screen that I discovered the "Y" key was upside down. It was like finding the Golden Easter Egg!
This photo has become one of my personal favorites. Perhaps because it is so different from the keyboards and touch-screens of today's technology. Perhaps because it reminds me of simpler times.
No. 6921 Turtle Yoga (vertical crop)
Lake Martin, Breaux Bridge, Louisiana
This guy was stretched out in the sun - still as a statue. He didn't move a muscle and seemed oblivious to the world around him. At that moment, I was one with him. Completely relaxed. Feeling zen.
No. 6921 Turtle Yoga
Lake Martin, Breaux Bridge, Louisiana
This guy was stretched out in the sun - still as a statue. He didn't move a muscle and seemed oblivious to the world around him. At that moment, I was one with him. Completely relaxed. Feeling zen.
No. 7104 l'ecrevisse
"l'ecrevisse" is how we refer to crawfish in Cajun Country. This image was created from a photo I took of one of the entrance gates at Parc Hardy, in Breaux Bridge, Louisiana.
Subscribe to:
Posts (Atom)